
(Pattern provided free for my review but all comments are genuine)

Pattern
The Natalie Skirt pattern is a gored skirt with button down front. There are two options for the main skirt; A-line for suggested medium weight fabrics, or flared for your flowy fabrics. It has two waistband options; one regular squared waistband, and the second is a REALLY fabulous raised option with pointed corners on the front as well as the centre back.
Oh, it also has super smart side slash pockets.

What I love about this skirt design is how classic and chic it looks. It’s the type of skirt I imagine putting over a shirt or a simple top, or a chunky jumper and just looking really stylish. Some clothes you have to style, this skirt is so polished that it makes everything else looks good too.
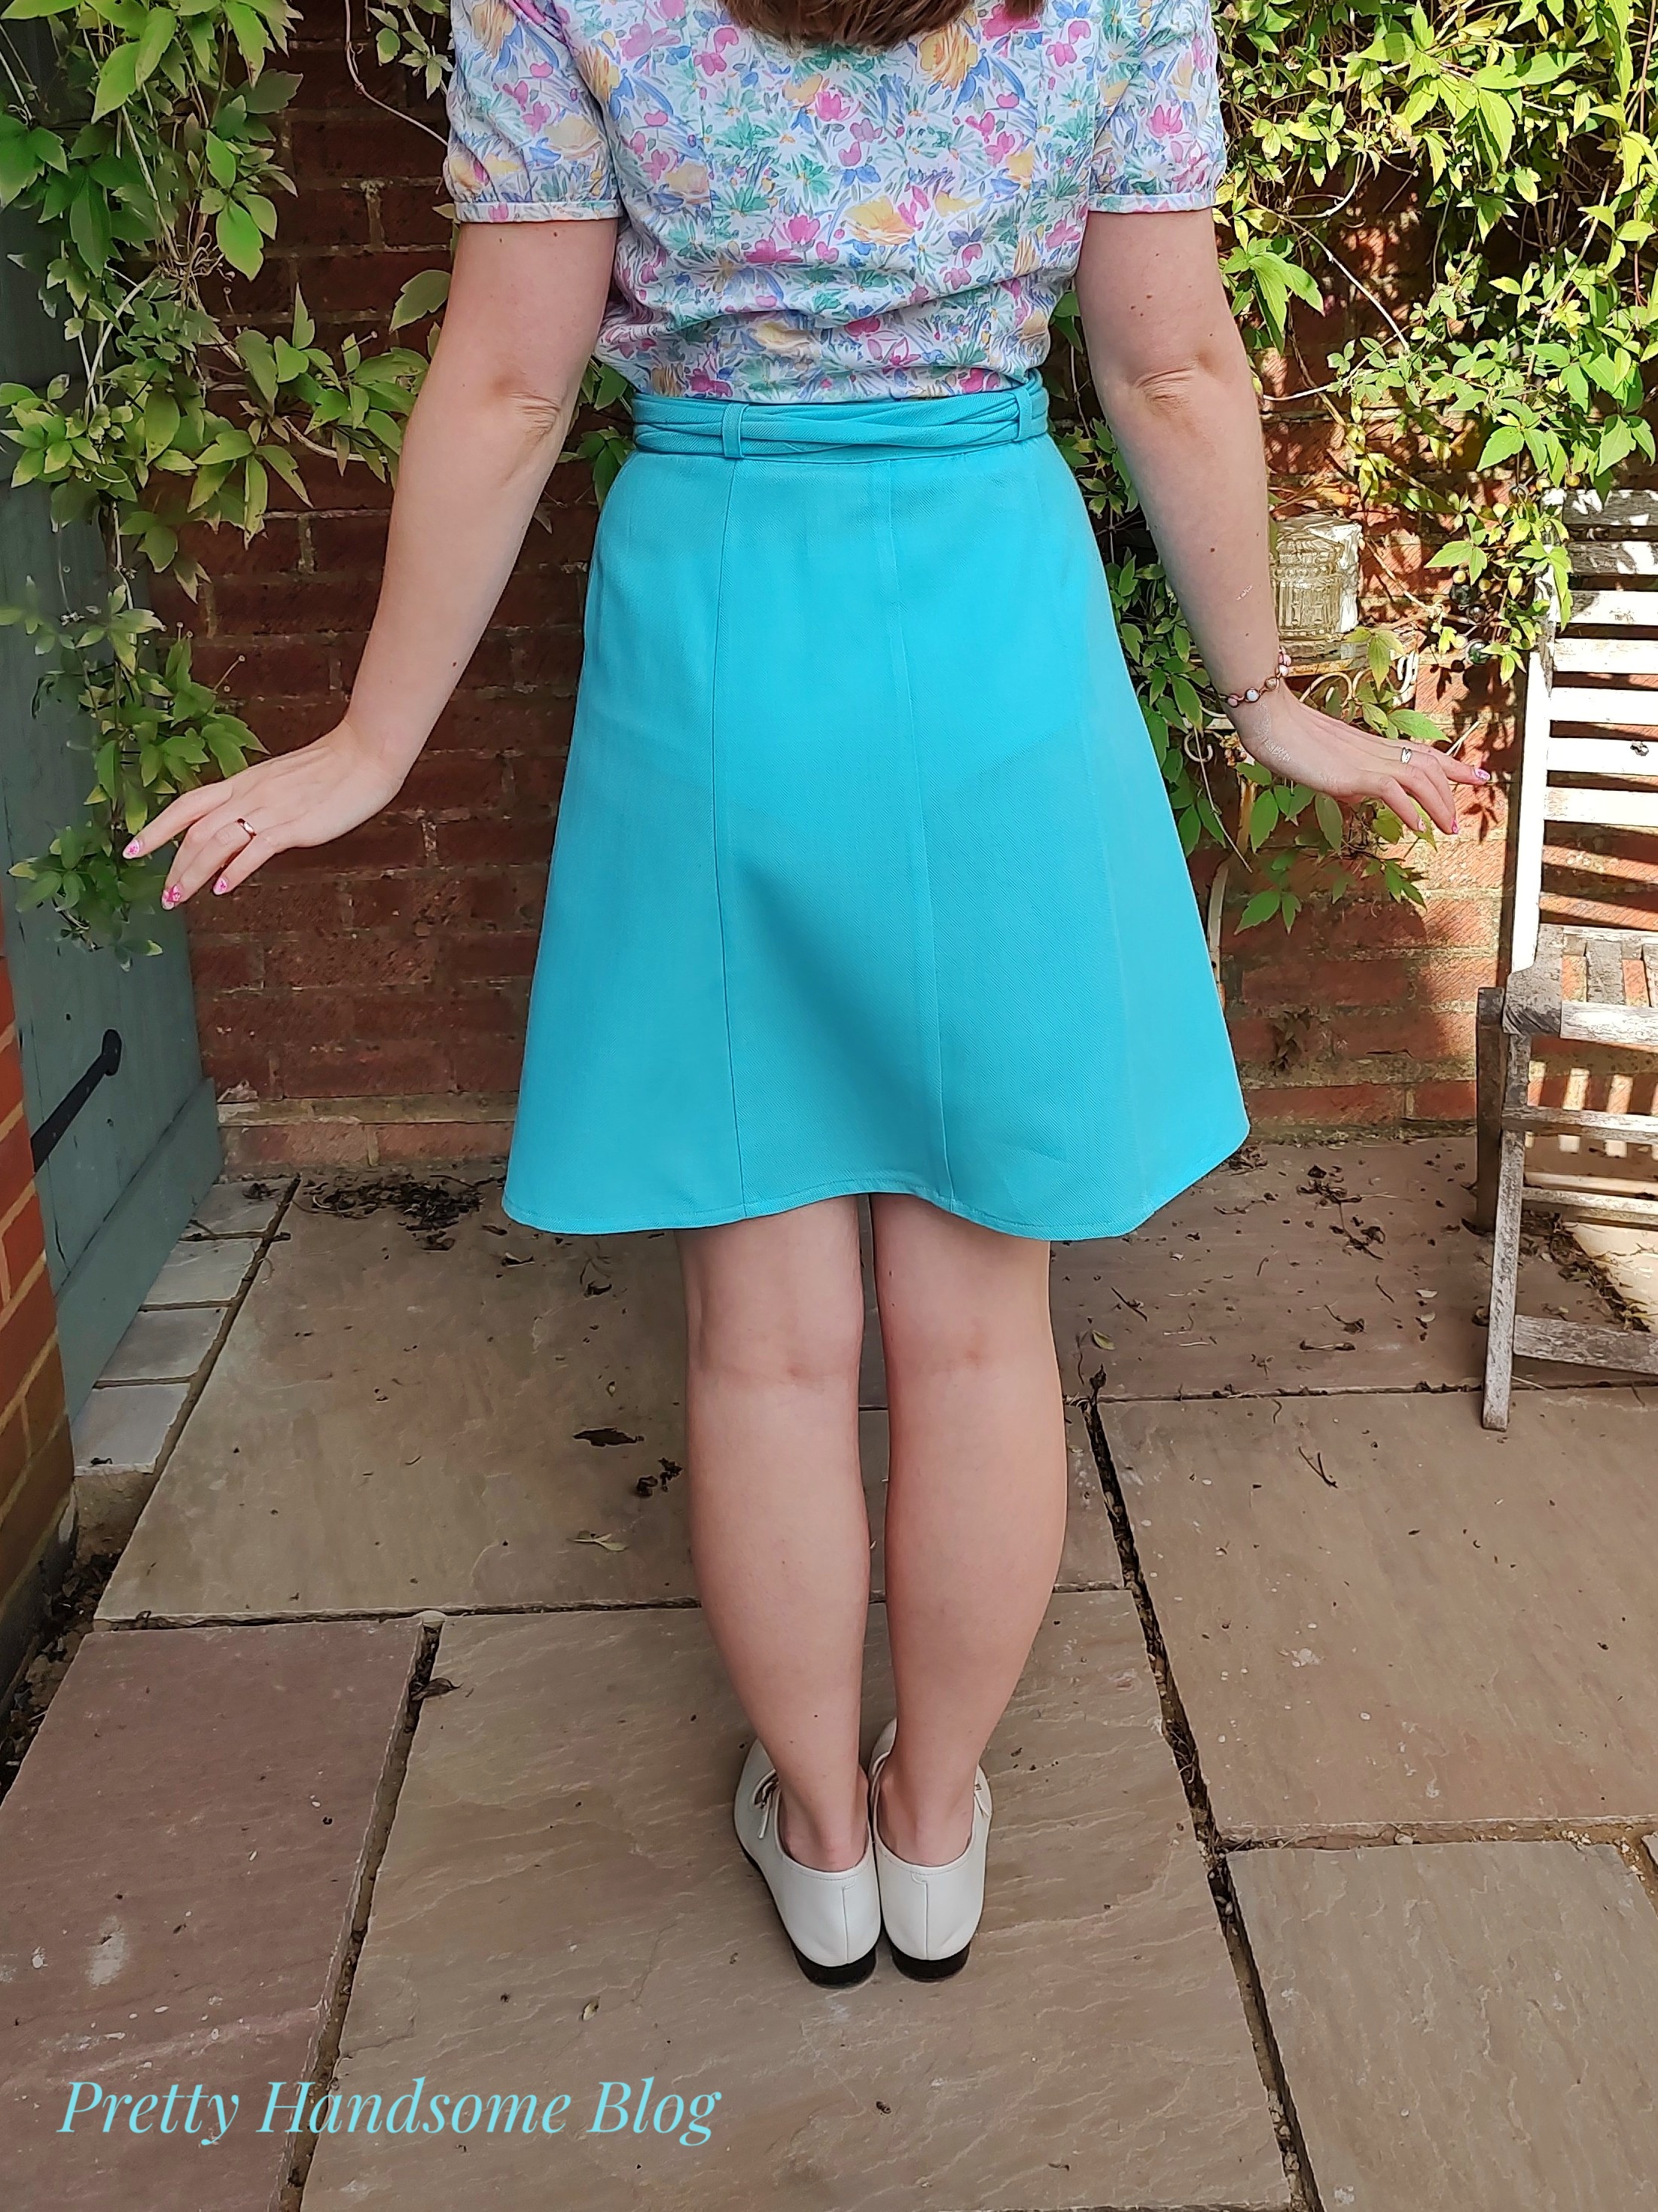
I’ve had this pattern for a few months and it’s now, as we’re heading into autumn and the colder weather, that this skirt is really going to slide perfectly into my everyday wardrobe. I chose to make the A-line version first, and although I absolutely love the raised waistband, I wasn’t sure my fabric would be stiff enough to do it justice so I’m saving that for my second version and went with the classic squared waistband version on this one.

Fabric
I’ve been imaging this skirt in wool, plaids and corduroy (I’ve got two corduroys waiting for two more skirts for my sister and I!). For my first version I used a light turquoise woven fabric I had in my stash. It’s medium weight and has a slightly soft-wool texture. I’m not sure of it’s exact composition but I will do a burn-test and let you know in case you want to use something similar for your own. I did actually manage to scold one of the facings with the iron when I was pressing it – luckily before I had attached it, and luckily I had fabric left over to cut a new one!

Process
My thoughts on the pattern itself are that the instructions are clear and easy to follow with helpful illustrations that include little arrows showing you which way you’re folding the fabric etc. Extra information in the instructions such as explaining exactly which type of interfacing you need, and a glossary of words just make me feel like I’m in good hands. I would say I’m a pretty seasoned sewer but even so I was thinking there would be some slightly fiddly parts with the pockets and the button/buttonhole facings but the instructions whizzed me through it before I even thought twice.
It’s worth noting that the seam allowance is 3/8” / 1cm, rather than 5/8” that the big 4 use.


I love the belt option with this skirt, it’s a thin belt designed to wrap around the waist a couple of times with a bow at the front. When I photographed this skirt I had it wrapped around twice and then the two loose ends tied at the front but I’ve since changed it so the belt is folded on itself 3 times and then it’s fed through the belt loops so it’s one big knot at the front. I think I prefer it this way (but I love having options!).
I had fun as always picking the buttons – I chose a grey swirly 2-hole button from my collection and I can’t believe my machine managed to sew all the button holes without a problem!

Overall
This was a really enjoyable project for the sewing itself – I think all the straight seams and sharp pockets make it super satisfactory.
When making clothes you can never be completely sure something will look good on you once complete but I’m so happy with how skirt looks and feels. The high waist, the gentle A line and the length all blend perfectly and I 100% will be making more. As I’m writing this I remembered I’ve got a black and white houndstooth wool in my stash – 1960s vibe anyone?! That would look amazing just a touch shorter and paired with black tights and boots…

I hope you enjoyed seeing my Natalie Skirt – let me know if you’ve tried this pattern, I’d love to see some more versions as they all look so beautifully varied in different fabrics.
You can click HERE to go straight to the Natalie Skirt pattern on the Forget Me Not website.
Thanks for reading and happy sewing!
Rebecca

You must be logged in to post a comment.